A rowhouse repipe runs in a set order: map the system, write the scope, pull the permit, build the new piping while the old still works, test it, have it inspected, cut over, flush, label and close the walls. Here is how that order would play out in an illustrative two-story rowhouse with galvanized supply pipe. Philadelphia Freedom Repipe offers and manages repipes like this across Philadelphia, carried out by licensed and insured contractors; inside the city, a Philadelphia licensed master plumber oversees the job and pulls the L&I permit.
The illustrative house
Picture a brick rowhouse built before 1940, which is true of 39.9% of the city’s housing units by Census figures. It has a basement with open joists, a kitchen at the back of the first floor, a bathroom on the second floor above the kitchen, a washer in the basement and a hose bibb on the back wall. The supply pipe is mostly original galvanized steel, with a copper section where an earlier leak was patched. The owners notice that the upstairs shower fades when the kitchen tap opens, and the first draw after a weekend away runs brown.
Step 1: The walk-through from the meter
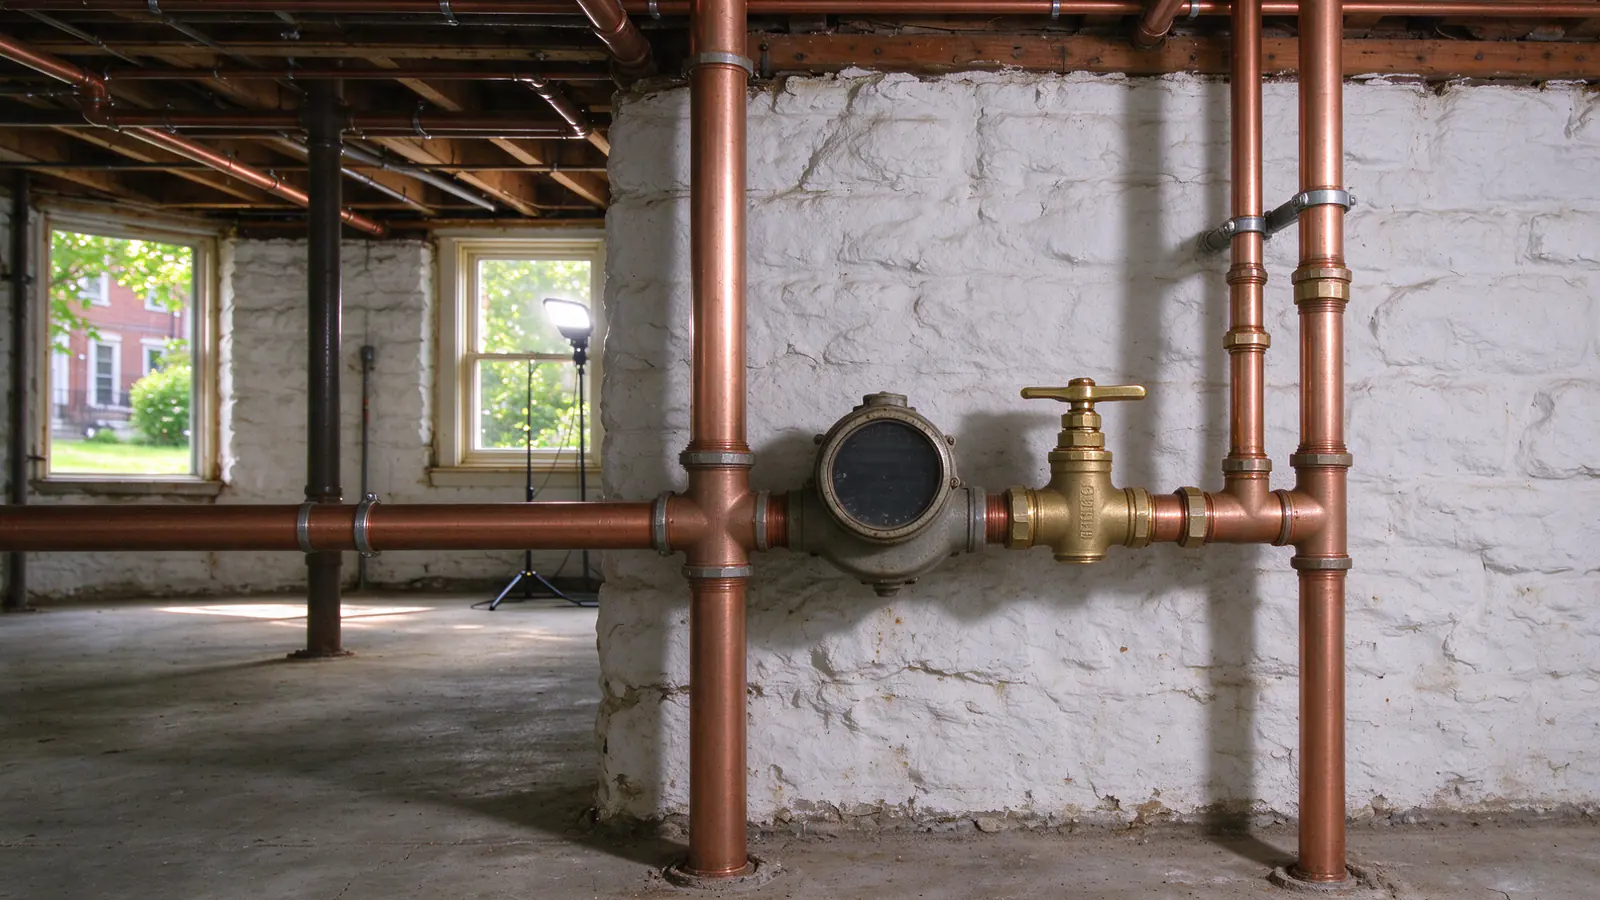
The visit starts where the water enters: the front foundation wall, where the service line comes in to the meter and main shutoff. The service pipe is checked first, because a lead or galvanized service line can limit flow on its own, and replacing it is separate work covered on the lead service line replacement page. The main shutoff in this house is an old valve that does not close fully, so replacing the main shutoff goes on the scope.
From the meter, the pipe is traced along the basement to the water heater, the washer and the riser to the second floor. Static pressure is read at a hose bibb, and flow is compared at the kitchen and the upstairs shower with two taps open. Those readings support the idea that the old pipe, not the fixtures, is restricting flow, though they do not rule out the service line.
The walk-through then maps routes. The basement joists can carry new mains to the back. A closet beside the stairs on the first floor lines up with a hall closet upstairs, giving a hidden route for the riser. The shower valve can be reached from that hall closet rather than through the tile.
Step 2: The written scope
The scope names the work in plain terms:
- New hot and cold mains from a new main shutoff to the water heater and the back of the house
- One riser through the stacked closets to the bathroom, with branches to the toilet, sink and tub and shower valve
- Branches to the kitchen sink, dishwasher, washer and hose bibb, the last with its own indoor shutoff
- PEX for the distribution, which Philadelphia’s code allows in one- and two-family dwellings, meeting the water heater through at least 4 feet of copper or similar metallic pipe as the EZ permit standards require
- Thermal expansion control if a pressure-reducing valve or check valve is found on the supply
- A list of every opening by room, its size and who closes it, to a finished plaster surface
- Old galvanized removed where exposed in the basement, cut and capped where it stays in the walls
Price follows the scope. A house like this would fall within the typical Philadelphia-area range of $4,000 to $15,000+ for a whole-house repipe, and within about $4,000 to $10,000 for a PEX repipe of a typical home; the repiping cost guide explains what moves it within those ranges.
Step 3: The permit
With seven or fewer fixtures in a one-family house, the L&I alteration fee would be $50 for the first 7 fixtures, plus a $100 filing fee applied toward the final fee and small surcharges. A building with four or fewer dwellings up to four stories can usually use the EZ permit with no plans. The Philadelphia repipe permit guide covers the application.
Step 4: Building the new system while the old one runs
On the first work day, drop cloths go down from the front door to the basement, and plastic sheeting seals the two closets that will be opened. The new mains are hung along the basement joists. Openings are scored and cut in the closet walls at the floor plates, and the PEX riser is fished up between them. Small square openings in the bathroom’s hall-closet wall give access to the tub and shower valve and the sink and toilet connections.
All the while, the old galvanized keeps the house supplied. Nothing is disconnected yet. The living through a repipe guide describes what that is like for the people at home.
Step 5: Pressure test and inspection
With every new line installed and the fixtures isolated, the system is pressure tested. A weak joint shows on the gauge while it can still be reached. Then L&I inspects the open work under the permit.
Step 6: Cutover and flush
The water goes off at the curb stop so the old main shutoff can be replaced, then the new system is connected and the old one capped. Water comes back on through the new piping. The lines are flushed, and aerators and fixture screens are cleaned, because scale loosened from the old pipe can travel to the first faucet. In a one-bathroom house, the bathroom group is cut over in one window, planned ahead with the household.
Step 7: Labels and closing the walls
Each shutoff, at the main and at each fixture group, gets a label. Only after the test and inspection do the openings close, to the finish the scope named. The plaster walls guide explains how those patches are made.
Step 8: The handover
At the end, the owners would get the permit record, the written scope showing what was replaced and what stayed in the walls, the test result and the location of every shutoff. If the service line turned out to be lead or galvanized, that would be a separate decision, and the free lead line replacement guide compares the routes. The rowhouse repiping page covers how other rowhouse layouts change the plan.